| Make your pictures 1600 x 800 in a paint program such as Photoshop that can save files in the tga format with a name such as ls_something. Replace the something with a descriptive name.
Go into Atari/NWN2/UI/Default/Images/donotatlas/ and make a new folder with exactly the same description. i.e. ls_something.
Put the pictures in the folders.
Next thing to do is to extract the loadscreen.2da file from the 2da.zip file, which is located C:\Program Files\Atari\Neverwinter Nights 2\Data to your Override folder under My Documents
Open the loadscreen.2da using say Notepad.
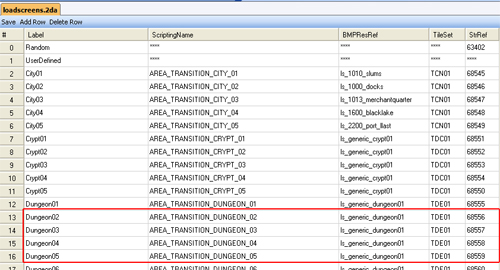
As you can see from the screenshot below, there are a number of lines that use the same picture. For example, AREA_TRANSITION_DUNGEON_01 - 08 use the loadscreen picture ls_generic_dungeon01
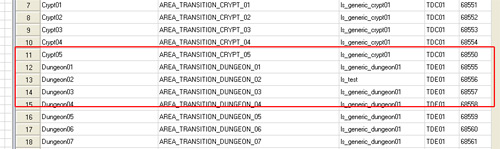
Lets pick on Dungeon02 line and change the BMPResRef to ls_something. As I am so original I called my picture ls_test.
Your loadscreen.2da should now look similar to this:
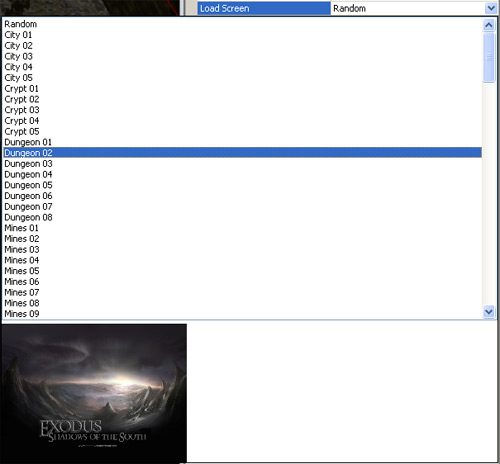
Once we have done that, we need to open our module in the toolset and then open the area that the custom loadscreen is going to be associated with. Then go to the properties of the area and then go to the Load Screen field. Click on the downward arrow and you will get a list of loadscreens to choose from. In our example our custom loadscreen is Dungeon 02, so if we selected that you should see you custom loadscreen in the preview area, like so:
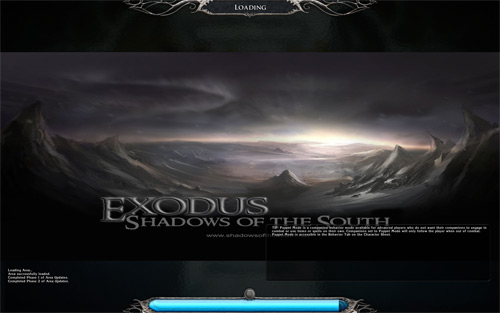
Select the loadscreen and then save the area. Now go in game and then go to the area with the custom loadscreen and volia, you should see you new loadscreen, like so:
|