| To add a new NPC, under your Blueprints click on Creatures and then click on the NPC group as shown below: 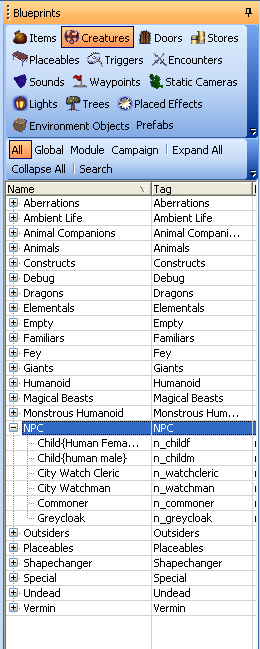
Now right click in the Blueprint toolbar and then left click on Create Blueprint and then Module from the popout menu: 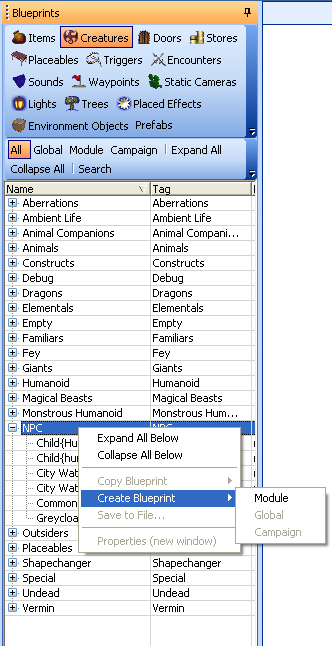
You will now see a blueprint called creature1 and if you drag it into your area preview then it will look something like below: 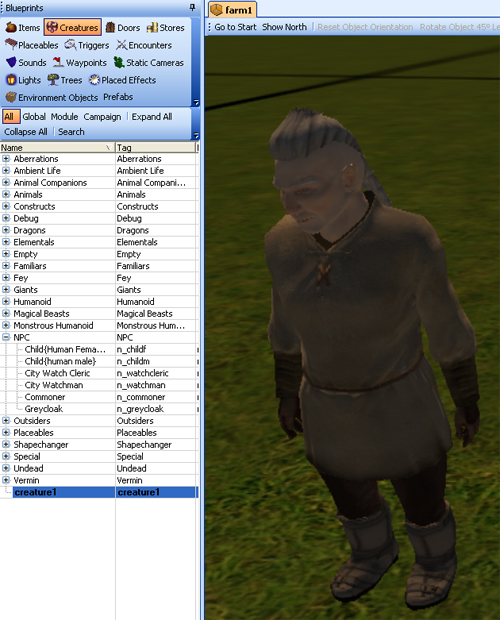
When your new creature is selected you should see the properties of the NPC: 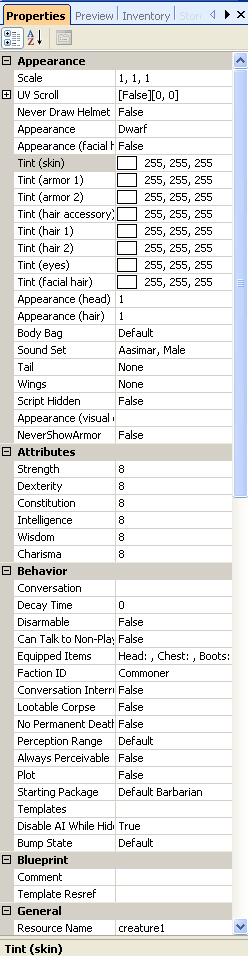
Appearance
Scale: You can increase each of these numbers and they relate to the x, y and z axis. UV Scroll: the UV scroll, which is used to determine how fast the texture of the item scrolls in the U and V directions (typically used to add the proper flowing look to things like water elementals and lava flows). Never Draw Helmet: This can be set to True or False Appearance: Allows you to choose the general appearance of your NPC (i.e. Dwarf, Dragons, etc) Tinting: There are a number of tinting options here that allow you to change the colour of the NPC's hair, face, armour, etc. Appearance: Another appearance option but this time it is for the head and facial hair. Body Bag: Used if the NPC dies, there are 7 different options on how the body of the NPC will appear to the player. Sound Set: This is to give the NPC a predetemined sound set when the PC clicks on the NPC (so if your NPC is a human, best not to chose the Badger sound). Wing/Tail: Er, gives your NPC wings and or tail - you can then choose what type of wings/tail you wish to give your NPC. Appearance (visual effects): This option if enabled gives you a load of visual effects that you can add to your NPC. Attributes Strength, Dexterity, Constitution, Intelligence, Wisdom and Charisma: Set these as you would when creating a PC. Behaviour Conversation: This is where you add any conversations that you have previously written to the NPC. Decay Time: Set this for how long you want the body of the NPC to appear for when it is killed. Disarmable: Will players be able to disarm the NPC. Equipped Items: You choose what part of the NPC can be equippable (i.e. wearing a helemt, make sure you select Head). Faction ID: Click on this and you get the option of 4 default factions: Hostile, Commoner, Defender and Merchant. If you want the NPC to attack the PC on sight then choose the hostile faction. More on faction in future tutorials Lootable Corpse: Pick True/False. This enables you to choose whether you want the players to be able to loot the dead NPC. No Permanent Death: Will the dead NPC be able to respawn (not sure until the game is released)
Perception Range: 4 options here on how far away the NPC can see things. Starting Package: What skills the NPC will have in game. General Localized Description: base descriptive text for the NPC. Tag: name by which an object can be referred to in script. Classification: Use this to organise where your NPC should be classified as within the Creatures Blueprint list (i.e. for this example just type NPC). First Name/Surname: Er..just like in real life. Misc Template Normally keep this the same as the NPC Tag. Comment Add your own Builders notes to the NPC. Height Lock If set to true means that you cannot raise or lower the NPC. Position Lock If set to true means that you cannot move the NPC from its current spot. Stackable To place one NPC on top of another? Position No Snap Giving you the exact cordinates of the NPC on the x, y and z axis. Miscellaneous Here you can choose what Diety, whether the NPC is immortal, its Walk Rate, Familar type, etc to give your NPC more depth Saving Throws Here you can give your NPC Fortitude, Reflex and Will saving bonuses. Scripts You can attach your scripts to your NPC here so that based upon an event it will trigger your script so that your NPC will react as per the script. Shadows This section allows you to define how the NPC will cast/recieves shadows from lighting within its immeadiate surroundings. Statistics Classes: This is were you can determine the class(es) of your NPC. To do so click with the Classes field so that it is highlighted and then click on the three dots ... to be able to amend the class as shown below: 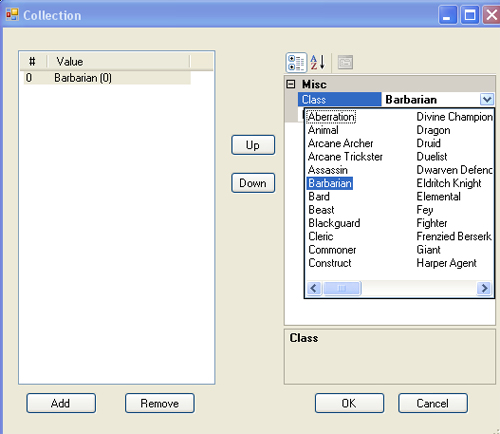
First click on the Add button and you will see that the Barbarian class has been shown as above. Click on the Downward arrow under Misc/Class and here you will see a long list of classes to choose from. You can then choose the level of the class and if it is a multiclass NPC then just click on Add button again and go through the same steps above. Gender: Can you choose from 5 different Gender types. Subrace: Can you choose from a whole list of Subrace types. Feats: Choose from a list of feats so that if your NPC is required to fight then choose the feats wisely to make the battle a little bit more interesting and of harder for the players. Click on the Feats field and then click on the three dots ... to be able to see the list as shown below: 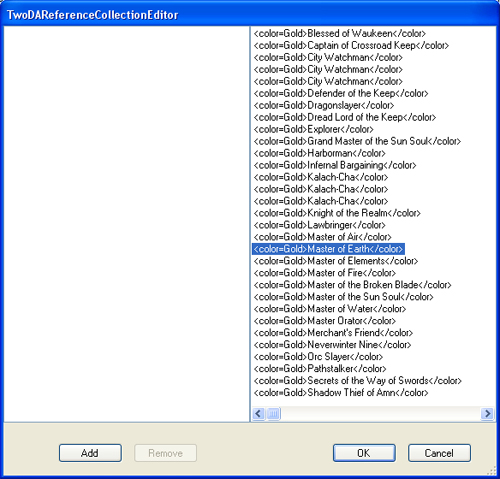
Click on the feat that you want your NPC to have and then click on the Add button. Rinse and return to add more feats. Natural AC: Increase this if you want your NPC to have a higher AC than the equipment it is wearing provides. Current Hit Points: How many Hit Points your NPC currently has. Base Hit Points: These are the number of Hit Points your NPC has derived from its base statistics. Challenge Rating: This shows the average level of a party of adventurers for which one creature would make an encounter of moderate difficulty.
Damage Reduction: You can add different types of damage reduction from a list. To add a damage reduction type to our NPC, click in the Damage Reduction field and then click on the three dots ... to get a dialog box as shown below: 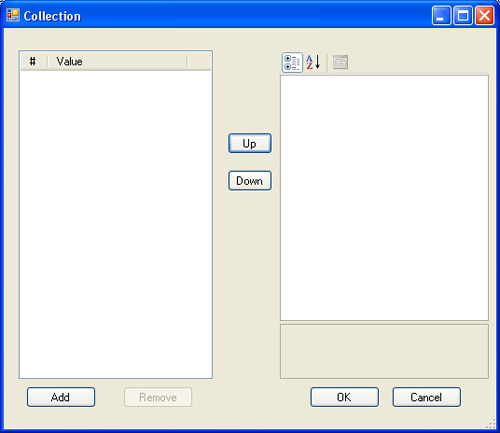
Click on the add button and then on the right hand pane you will see four options:Damage Amount, Piercings, Stacks, Uses or Logic
Damage Amount: How much damage do you want the reduction to be. Piercings: Click on this field and you will have to click on the three dots ... and then click on the add button to get the follow screen: 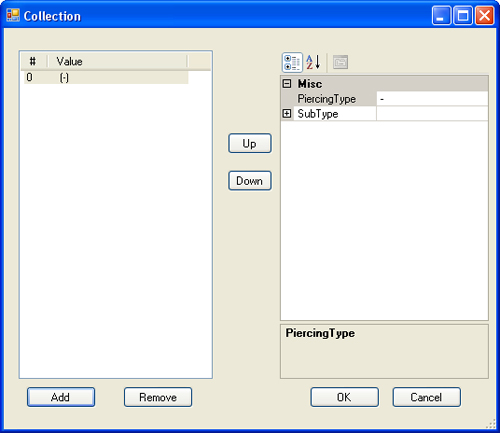
Click on Piercing Type and you will be given 6 different types to choose from. The Sub Type will change depending on the type of Piercing you have choosen. Once done, click OK. Stacks: You can set this to True or False. For example if you have a ring that has DR for say Fire and you have given the NPC a natural DR for Fire then the two will stack together. If set to False then these do not stack and the NPCs DR will act as if it did not have the ring. Uses Or Logic: This is set to True or False, which to me does not make sense??? Thats the NPC properties pane finshed, but we have two more panes to go: Preview and Inventory. 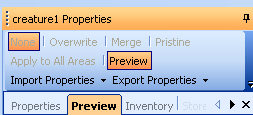
The preview pane will give you the overall look of your NPC. For the Inventory, please click here. |