| In this tutorial I'll try and explain how to make a waterfall. Since there isn't a specific feature to making waterfalls you have to use placeable effects to "trick" the player to thinking there is a waterfall here. Now I'm writing this assuming you have basic knowledge of the toolset and how to manipulate terrain and paint textures.
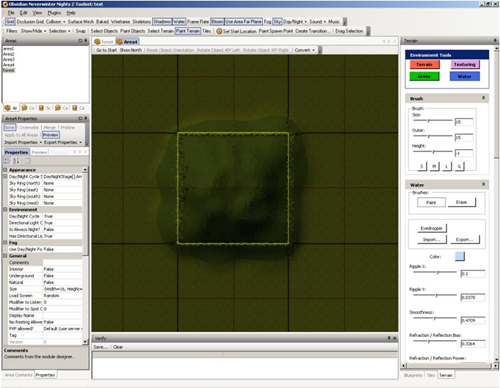
To start, make a new exterior area. 16x16 is fine. Now, to begin we are going to make a lake. You will want it to be about the size as one black square.. with the north edge of the lake meeting up pretty close to the top of the black square since water heights can only be different in each black segment.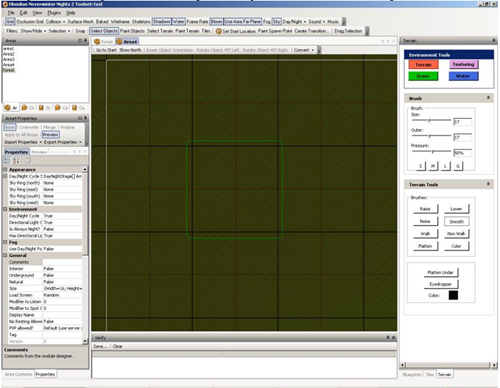 Pick the "Lower" option in the Terrain Tools window and click on the 'G' in the Brush window. Lower the area inside the black square so it can hold water. After it is lowered a decent amount I usually take the smoothing option in the Terrain Tools and smooth out and rough edges on the lake. 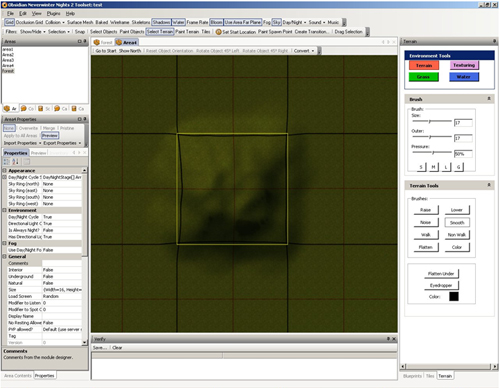
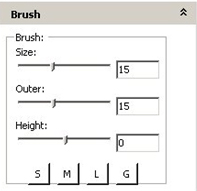 Now pick the "Water" option from the Environment tools and fill the area with water. You may notice that the water level is slightly higher than the base ground level. So start by filling just a little bit more than the area you lowered with water (Except the north side since that's where the raised water will be) Then go to the Brush options and set the height to "-1" and paint water into each of the cells that have water in it to adjust the height. You can lower it more if you want.. the key is to get the water to meet up pretty close to the top black line. Once you have that, its time to raise the northern area where the river will come to meet the lake. Now pick the "Water" option from the Environment tools and fill the area with water. You may notice that the water level is slightly higher than the base ground level. So start by filling just a little bit more than the area you lowered with water (Except the north side since that's where the raised water will be) Then go to the Brush options and set the height to "-1" and paint water into each of the cells that have water in it to adjust the height. You can lower it more if you want.. the key is to get the water to meet up pretty close to the top black line. Once you have that, its time to raise the northern area where the river will come to meet the lake.
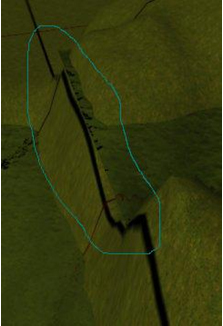
This is where is gets tricky.. you can raise as much of the area north as you want.. the higher you raise it the less it looks like a water fall. Basically do the same as you did for the lake but backwards.. raise it like mountains and then set the brush size to small and lower a path for your river. In the end you want the black line to run across the hill side between the two water level heights. This part can take a bit depending on how well you want it to look.
 Now.. for laying the second water height.. it can be a bit tricky because you can accidentally raise the pond water to the rivers height.. pick 7 or 8 height for the water( it will really depend on how high you raised the area but for me it was 7. Now.. for laying the second water height.. it can be a bit tricky because you can accidentally raise the pond water to the rivers height.. pick 7 or 8 height for the water( it will really depend on how high you raised the area but for me it was 7.
Play around with numbers till you get a river the way you want it. As soon as you raise the north chunks water level you will probably raise a ridge of water from where your pond over lapped. Just erase that so it does not look like you have floating water. You should end up with something like the picture below:

Now. at this point I like to use a few rocks on the corners so the corners don't stand out too much. (Just a few boulder piles in the nature section of the placeables) Now.. for the splashing effect.. you want to go into the "Placeable Effects" menu and find the splash animation.. you will want to put one on the edge of the river and one at the ponds edge. You will have to manually raise and lower them to get it right.. all you are trying to do is cover up the sharp edge of the river.
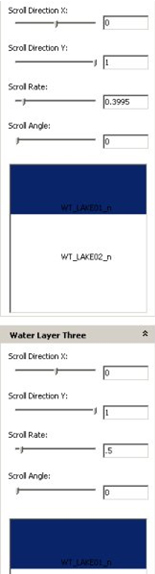
Once you have that you want your river to be flowing towards the pond rather than looking like any other pond. Since it's a waterfall and all. To do this you will need to go back to the water terrain menu and set each of the three layers to scroll the same way, South, and at the same rate. To do that set all three water layers "Direction X" to 0 and "Y" to 1. and then set each layers scroll rate to .3 .4 and .5 respectively. Now your river should be flowing towards the waterfall. 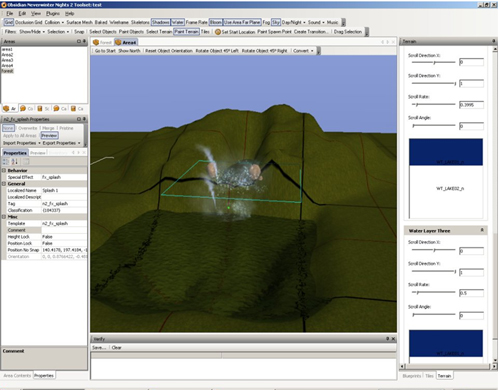 Then once you have the waterfall looking like you want, go through and texture the area how you want and it will really stand out. (Another trick is to go into the terrain editor and do a 50% pressure light blue coloring of the land area under the waterfall) 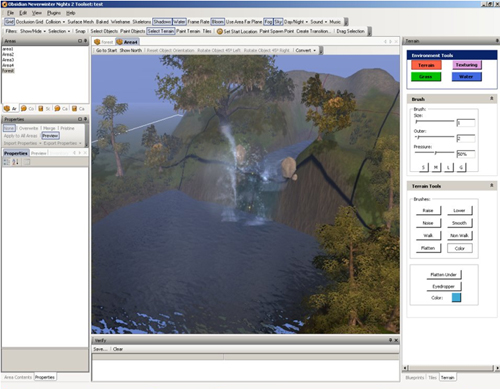 |